Showing posts with label makeup. Show all posts

Tuesday, 27 March 2018

My Daily Make Up Routine

My daily make up routine

First of all I always cleanse my face when I wake up to make sure any traces of make up are gone and to prep my skin for the day.

Once I’ve had breakfast I lay out all the make up I’m going to use on my desk.  This saves time searching for things between application.  Another tip would be to have a separate make up bag with daily make up and one with the less used make up or weekend kit.  I try and do this but actually have many bags and drawers that I keep my make up in.  P.s I promise I will do a glam room tour soon.

I always put on a light moisturiser before any make up, at the moment I’m using the Simple one.

Then it goes a follows;
1 garnier roll on anti dark circle concealer
2 maybelline master camo green concealer on red areas with the tiny brush provided
3 foundation blended into all of the face with a Wilko foundation brush
4 maybelline master camo concealer in a mixture of colours around my nose, around my eyes and problem areas. I tend to use yellow and peach under the eyes and mix the other two shades for anywhere else all with my ring finger
5 add bonzer to my cheeks, nose, forehead and chin - I’m only doing this before powder because I’m using Vita Liberata luxury tan and it states it is best used on moisturiser or foundation
6 then I set my whole face with collection translucent pressed powder and a Wilko powder brush
7 next, I add a bit of eye shadow primer or concealer to my eye lids - I’m currently using elf gold eye primer
8 add dark brown shade of eye shadow to the outer corners with a Primark flat eyeshadow/concealer brush
9 add a high light champagne shade to the inner corners of the eyes with a small seventeen eye shadow brush
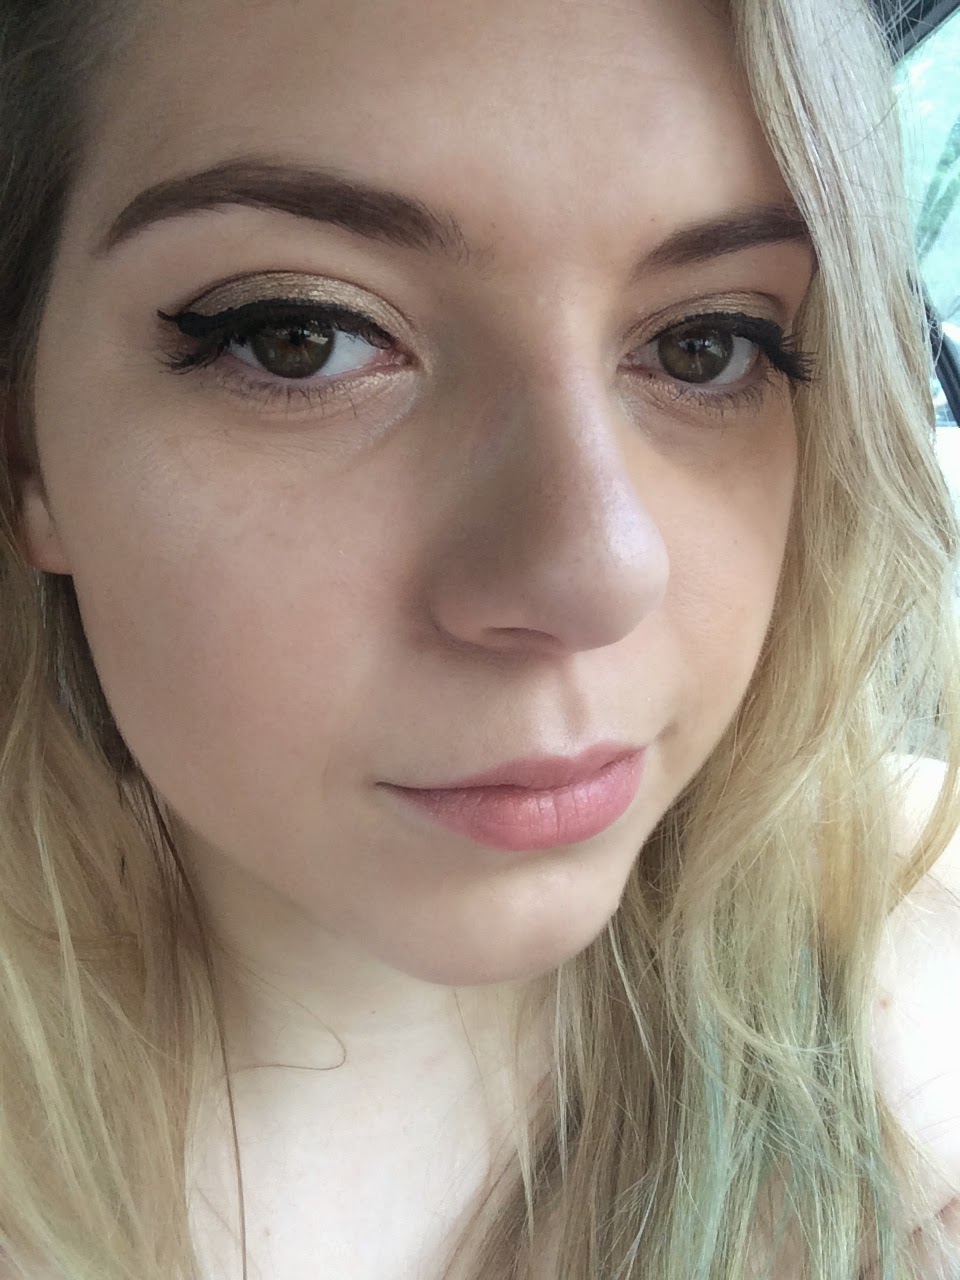
10 add gold shadow to the centre of the eyes blending all shades together without a fluffyish No7 eye shadow brush
11 Black felt eyeliner
12 Black liquid eye liner in a wing
13 eyebrow pencil - love mine from Primark
14 Cream highlighter from the maybelline master camo compact
15 powder highlighter from bookie
16 curl eyelashes
17 apply mascara which I’m using a Barry M at the mo


In hindsight this may be a bit too long for my everyday work make up. *goes to reinvent herself*

Thursday, 7 December 2017

New Favourite Makeup Item

Now that Christmas party season is here, I have the perfect makeup treat in mind!

The Stila Glitter & Glow Liquid Eye Shadow is Devine and an easy way to Glitter eyeshadow without the mess of glue and major fallout.  I first fell in love with this on instgram here;

https://instagram.com/p/Ba2VQGpBnOd/

So I had to get the shade rose gold retro as used in the instagram video above.

It retails at £23 for 4.5ml but I found it at lookfantastic.com for £19.55 and it is worth every penny.  You can also get a set of 3 mini ones which are perfect for a gift or to try different shades.  Stila have launch a mermaid collection with duo chrome shimmer and a standard shimmer collection for those who don't want actual glitter.

Firstly I love the packaging as it is sturdy and stylish with a matte gold top and gold foiled lettering on the clear acrylic tube.  It also comes in a gold box which illustrates the shade on one end.

The applicator is easy to use but you want to use a flat eye shadow brush to distribute the glitter more evenly as it can clump up.


My only criticism is that the colour looks more gold than rose gold on me but I will experiment with other eye shadows underneath.  I also recommend using an eyeshadow primer underneath it to ensure longevity and there is hardly any fallout of glitter.

Overall I love it and may invest in a silver one.

Tuesday, 7 November 2017

Mad on This Month; October

This October has really flown by!  I have been so busy buying a house and dealing with all the paperwork that comes with it.  What I have been loving are a couple of items really.

Firstly I am in love with any Benefit mascaras but I have "They're Real" and "Bad Girl Lash" ones which I sometimes use together.  I find that bad girl lash thickens and they're real, lengthens and separates.

I am also using this everyday, the maybelline master camo concealer with colour correcting pigments.  I use the green first on any red spots, yellow under the eyes and other colours on top of my foundation.  The best part is the creme highlighter which is so sparkly!  I set every part with powder and use them on my lids as eye shadow primer.


Monday, 30 October 2017

Halloween Look; Creepy Doll


I went to a Halloween house party this Saturday just gone and wanted to share my easy costume and makeup for a creepy doll.  Scary films like Annabelle really are making dolls popular and even more creepy so I tried a girly creepy doll and not too scary.  The best thing was that I didn't have to buy a thing!

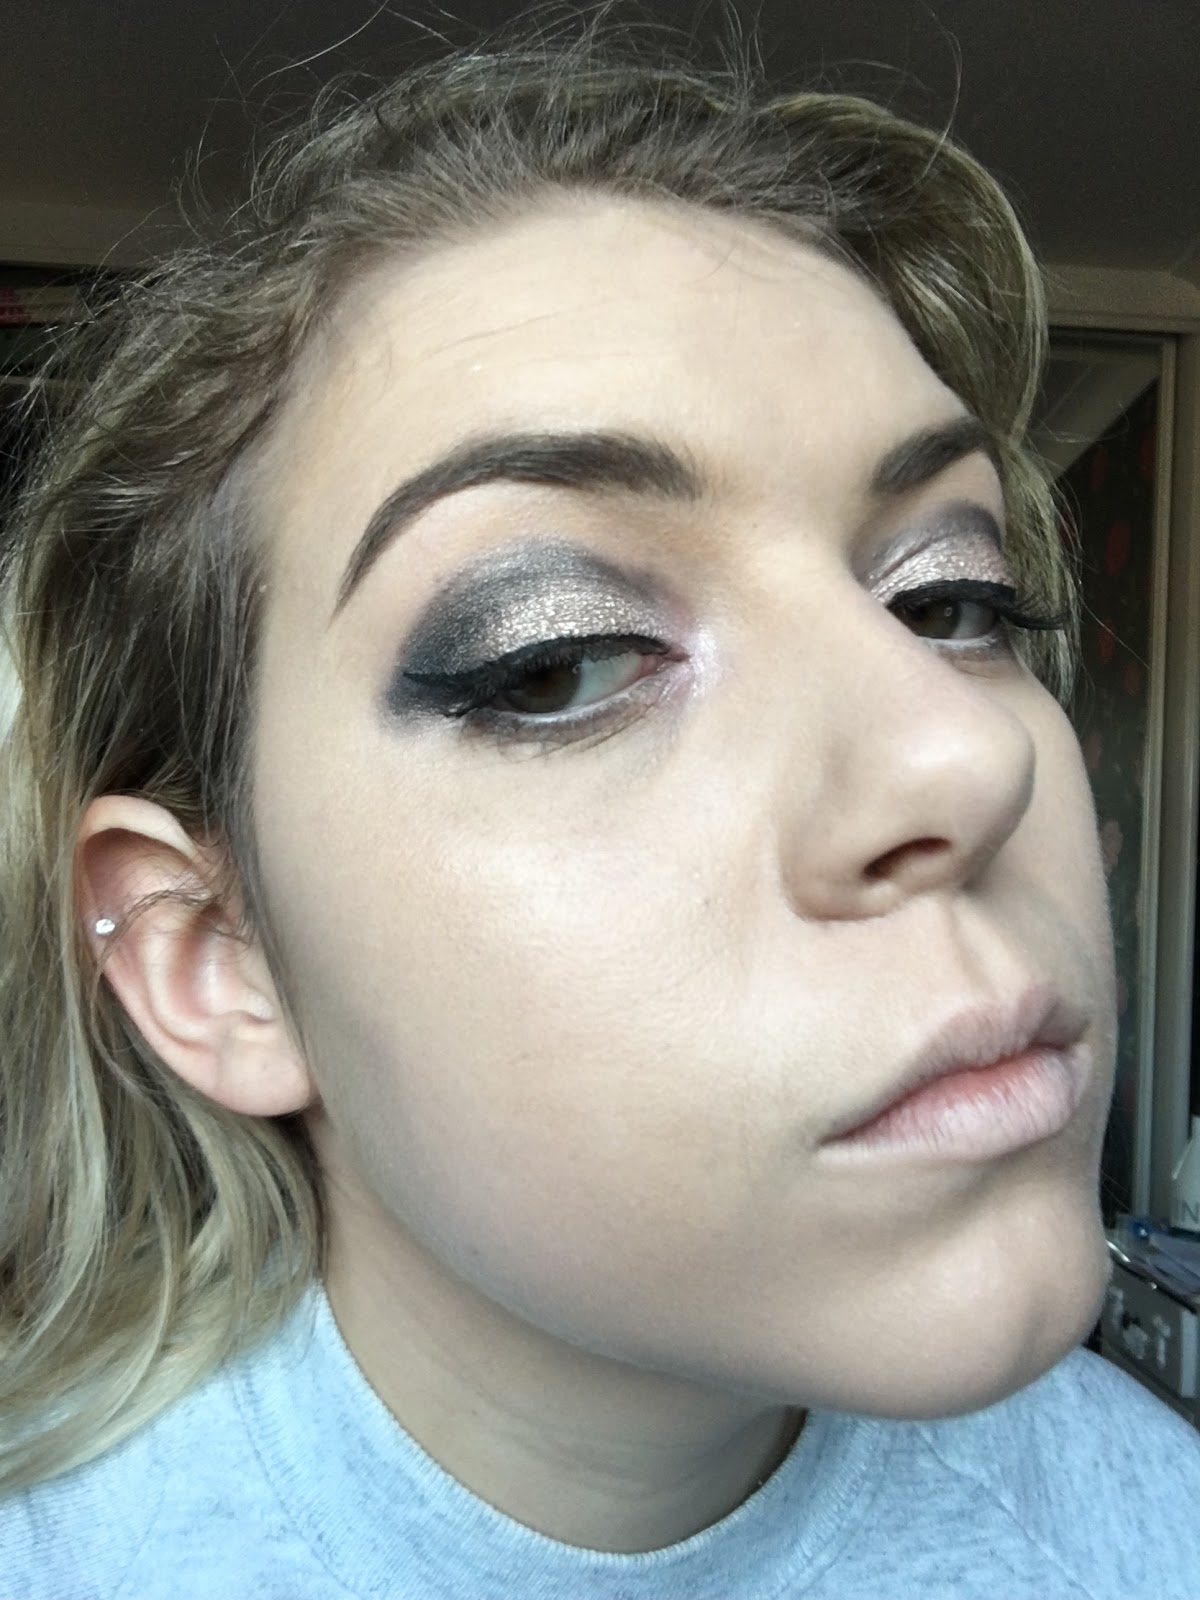
Firstly I did a simple make up look, with pale base, defined eyebrows, highlighter and a higher rounded eye crease.  This was mainly so I could pop to the shop without scarring anyone but this pic is a little strange, I know.

I then added thick white eyeliner (NYX jumbo liner in milk) to my lower lashline and down onto my  "eye bags" to make the whites of my eyes appear bigger and more rounded.  Then I lined that new eye outline with black (Any felt black liner and boots natural collection liquid liner for the finer parts)  most of the way and drew on small curved eye lashes as you can see below.

I used a brown eyeliner to add freckles randomly across my cheeks and nose.  Then drew cracks on my face with black eye liner.  It's easier to create a centre for the crack with a filled in triangle then draw in jagged lines outwards.  I added a smudge of the white eyeliner to some sides of the cracks to make it seem more 3D.  To enhance those doll like eyes, I elongated my signature black flick and added false eye lashes (I completely forgot how fiddly these are).

This was fun to create and easy to wear as I just picked a doll like dress, pigtails and done knee high socks.  I find "normal" clothes much more comfortable than shiny, itchy costumes.
And here I am with some Snapchat filters!


P.S. I completely forgot to contour my face with matte grey eye shadow but it doesn't make that much difference.

Monday, 4 September 2017

Mini Make Up Tip Monday; Felt Eyeliners

I read a tip somewhere that really intrugued me to try it.

Apperently you can turn the tip of a felt liner the other way around when it starts drying out and you get a new nib.  Naturally I couldn't quite believe this so I tried it on both my felt liners.  One is a cheap one from Superdrug's MUA collection and the other is from Eyeko London which is about £12.99 but I got it in a magazine.

Please be warned that this can be messy so you will need some kitchen roll or lint free Cotten pads to grip the tip.  The black can stain as it is still in my make up towel.


Monday, 31 July 2017

Mini Make Up Tip Monday; Powder

We all hate it when we hit the pan on our favourite powder make up but it is especially annoying when this happens on your setting powder as you use this every day.

The worst part of running out of powder is when it breaks off into useless small pieces of powder that get stuck in your brush and end up everywhere.

I have found a new trip that works especially well if you have just a lid to your powder but you could try it with a compact with a mirror.  I do the following to get the most product out;


  1. Shake the product upside down so the powder separates in the lid
  2. Turn to the product the right way up
  3. Carefully open the lid so the powder stick to the lid but any bits are in the pan side
  4. Place you brush in the loose powder that should now be sitting in the lid
  5. Apple to your face a normal


Monday, 1 February 2016

Mini Make Up Tips Monday; The Finishing Touches

So once you have done your base and eyes you need to finish off your make up look.  I usually use a whole range of products to take my make up to the next level.  My top tips include;


  1. Bronzer in a Matt neutral toned shade a few shades darker than your natural skin tone.  This should be swept around the hairline, temples, under the cheekbones, either side of your nose and under your jawline.  This will bring a healthy glow to your complexion and create chiseled features.  But remember to blend well otherwise it you could look like you have a dirty face.
  2. Blusher is something I don't use often but love to switch up my look with.  Just gently sweep your favourite shade on the apple's of your cheeks whilst smiling, this can be shimmery to bring a glow to your cheeks or just a bright pop of colour that say compliments your lipstick.
  3. Highlighter is by far my favourite finishing product as I love to add glitter to my cheekbones, grow bones, bridge of my nose and Cupid's bow.  I fell like this is the thing that makes me really glow and look skinnier in the face.
  4. Most of the time I want my make to last all day so I use a setting spray to set my make up as I don't usually re apply throughout the day.  I just use the MUA one from Superdrug that costs about £5 but worth it.

Monday, 25 January 2016

Mini Make Up Tips Monday; Lips

Lips are sometimes the first thing people see especially if you have red lipstick on.  There are also loads of different options to choose from, like gloss, satin or Matt finishes and any colour.  So here's when to use those options;


  1. To make your lips look fuller use a lip liner, similar coloured lipstick and lip gloss in the centre of your lips.  And just like Kylie Jenner, nude shades work best for plumping.
  2. Nude shades work best when you have a bold smokey eye or bold eye look.
  3. Bright shades light purple, red and hot pink work best if you have a lighter eye make up perhaps with fluttery eyelashes.
  4. Lip balms under your lipstick can make it last longer but also could make your lipstick glossier.
  5. Liquid lipsticks are all the rage right now and usually comes out Matt but still very moisturising as it doesn't fully dry.  These are best if you want a Matt look but get dry lips.
  6. Lip glosses are also really moisturising and can add a touch of colour without being too solid.


Monday, 11 January 2016

Mini Make Up Tips Monday; Eyeliner

You can do so much with eyeliner and make your eyes look different.  I have a signature flick which I have done since I was 14 and I don't look right without it.  Follow my tips to make the most out of your eyeliner;

  1. Let's start with basic black eyeliner this can be put on your lash line to thicken it, on your tight line (upper waterline) and on your waterline to intensify your eyes.  But be careful as too much black can make your eyes look smaller.
  2. To make your eyes look bigger use a white or pale pink eyeliner in your waterline to widen your eyes.
  3. Some liquid eyeliners can look shiny or flake off, to solve this you have 2 options, 1 is to put a kohl black eyeliner or felt liner underneath or pat Matt black eyeshadow on top to mattify.
  4. In order to do my 60s flick I first line my lash line and then use the edge of my eyebrows to guide my flick and try and make it even each side this way.
  5. I also like to use a brown or gold (instead of black) eyeliner on my lower lash line to keep my eyes widened.
  6. When using coloured eyeliner try to stay away from pinks, reds and purples right next to your eye as they can make you look tired so if you want to use these colours, add black eyeliner to your lash line to break up the colour.

P.S to get glowing rings in your eyes use a ring light or this Boots No7 illuminated mirror that I got in the Christmas sales; http://www.boots.com/en/No7-Illuminated-Makeup-Mirror-Exclusive-to-Boots_1527178/

Monday, 4 January 2016

Mini Make up Tip Monday; Eyeshadow

Your eyelids are where you can really express yourself and go crazy with colour.  Weather you wear your favourite colour or just neutrals, you can make your eyes look amazing.  My top tips for your eyeshadow are as follows;

  1. For longevity and minimal creasing, always use a eyeshadow primer or a long wear eye cream/stick like the Maybelline 24 hour colour tattoo.
  2. Always use different shades to define your eyes.
  3. Stick to a maximum of 3 different colours
  4. The best way to open your eyes up is to use a pale eyeshadow in the inner corners and the darkest shade on at the outer corners.
  5. BLEND!  Whatever colour or type of eye product you use definitely blend and build up the coverage to give the best finish.  This can be done with your fingers, an eye spatulas or eyeshadow brushes.
  6. Matt verses Shimmer; Matt shadows can be used all over the lid or in the crease if using a shimmer shadow in the centre of the lid.


Wednesday, 30 December 2015

Mini Make up Tips Monday; Base

Welcome to my new Monday series of make up tips that I've picked up from magazines, YouTube and life.

Now I'm not the best at foundation I will tell you all the tips and tricks I know to make it a little bit easier.


  1. Prime your skin, it's good to have a skincare routine but before you start applying any make up you should start with a clean face so it is important wash your face with soap and water or cleanse your face with cleanser, toner or micelle water.  Then apply moisturiser, primer or both so that your make up has something to stick to.
  2. Next I personally conceal my under eyes with the garnier eye roll on and pat it in with my ring finger as that has the most delicate touch.
  3. To pick the perfect foundation you need to match the colour to your neck in natural daylight and sometimes you just have to mix two shades together.
  4. When applying the foundation I tend to use a foundation brushes and blend all over my face and neck equally.
  5. I also conceal any areas with blemishes after foundation and blend with my finger.
  6. It is very important to set at least your concealer with powder so that it doesn't budge and this will take any shine away from the T zone (forehead, nose & chin).
P.S sorry its not actually Monday.

Saturday, 11 July 2015

Mad on This Month

I got these two new products at the airport on the way back from Amsterdam.


See I told you I would grow my collection!


First up I saw a little section with Anistasia Beverley Hills eyebrow products but not the eyebrow pomade but they did have the brow wiz so I got it!  I have heard so many good things about this product I had to have it at €24.50.  The medium brown shade is perfect for my eyebrows, not too dark and the product stays on well throughout the day.


Then I wanted a liquid lipstick or Matt lipstick so I saw the YSL Baby Doll Lips & Cheek and tried a few colours on my hand.  I went for a nice nudey pink and it looks lush with my skin tone.  I think it's shade 9 but I will double check that.  It was pricey at €32 but I had some money left that I wanted to use up so I didn't feel bad about it.

Sunday, 28 June 2015

"You look like a tomboy"

Sorry that I've been MIA recently; I've been really busy with life.  I have just come back from a trip to Amsterdam so I thought I would go through travel essentials.

Firstly it is very hard to take only essentials in a small cabin sized bag.  But I didn't forget anything!

My top tips for packing are;
  • Roll your clothes
  • Weight your bag on 2 different scales to make sure it's in the limit
  • Take out anything you might need and replace it with something you will need and definitely use
  • Pack interchangeable outfits so you can switch from day to night easily
  • Take a smaller secure bag for the day
  • Always make a check list so you don't forget anything
Minimising my make up for the trip was hard but I thought that I didn't want to spend ages doing my make up I wanted to explore the city.  So I needed quick fixes and all under 100ml as I only took cabin baggage.


And going back to why my boyfriend called me a tomboy; it's because I was dressed practically not fashionably or overly girly.  Literally just top, hoody and skinny jeans.  I did have a few girly touches such as a pretty top and bright Turquoise Vans.  These are new and I got them in the Office sale for £25 (£28 but they had a mark).


Sunday, 31 May 2015

Mad on This Month - May

This month and the past few months I have been crazy for make up!  But I must show you my 2 favourite products.


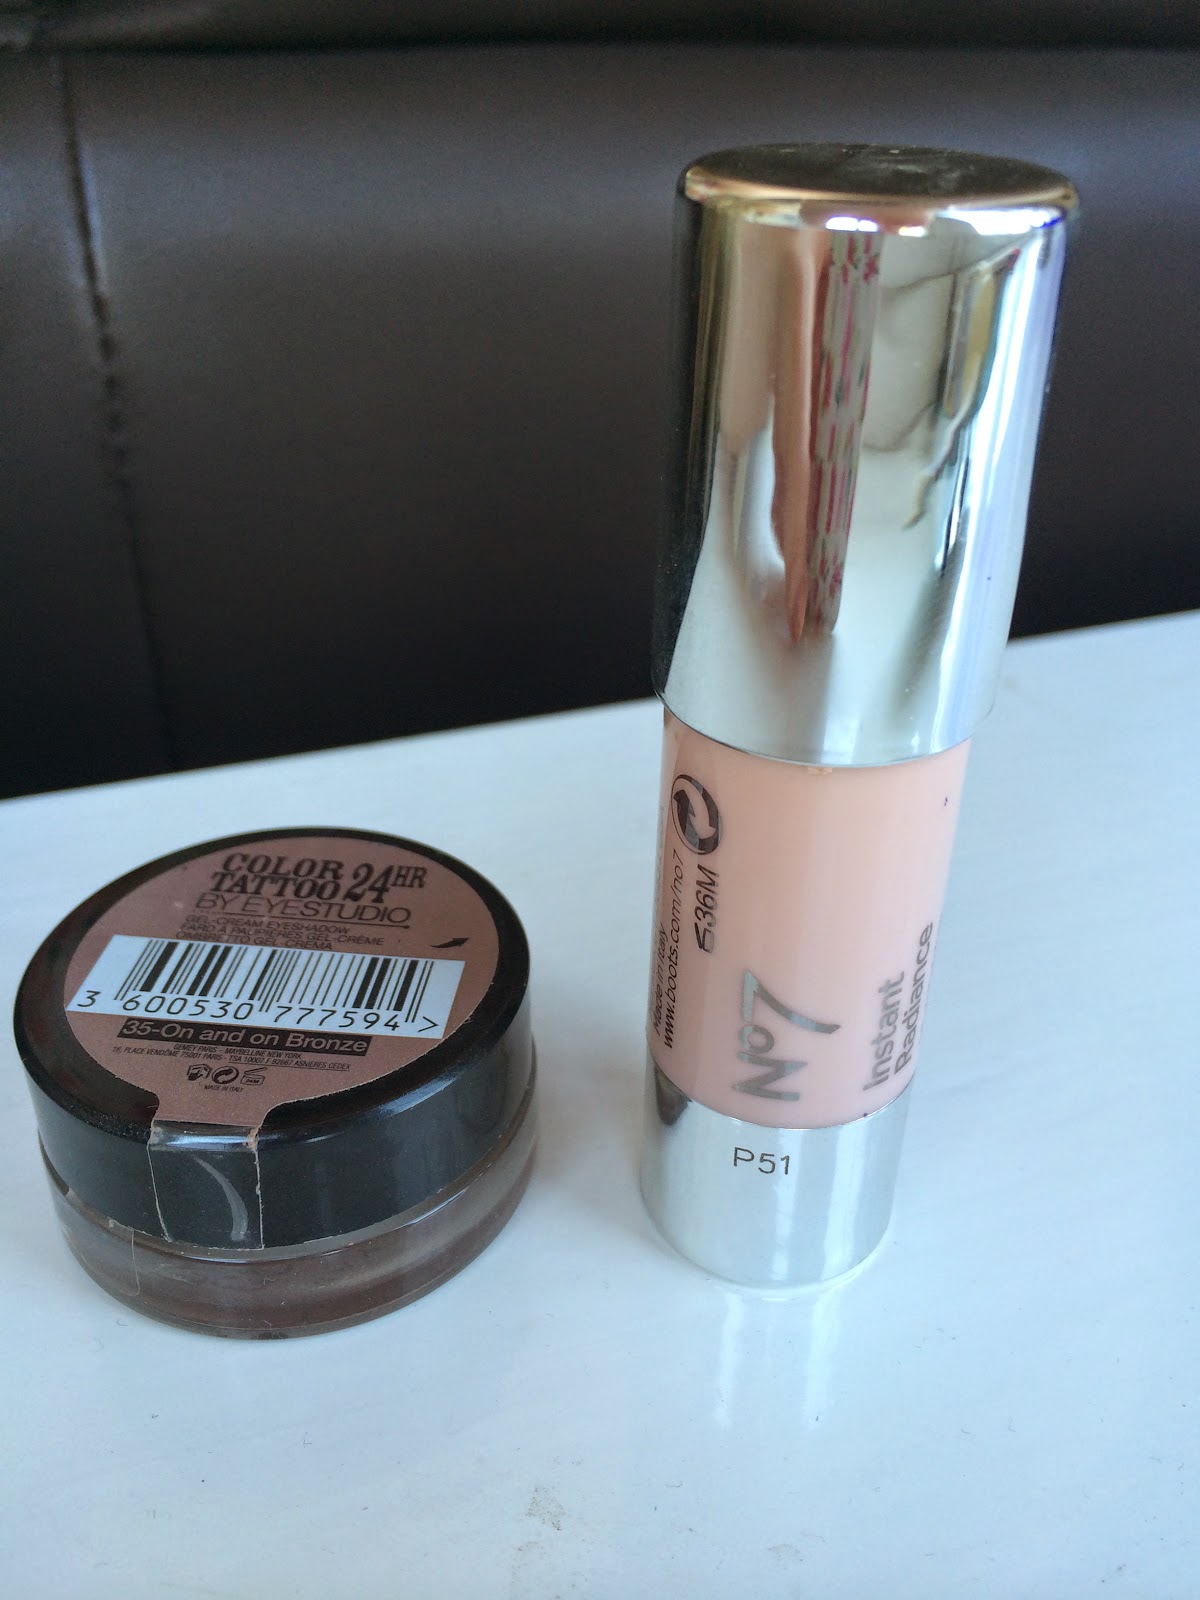
First up is the number 7 highlight stick called Instant Radice Highlighter in the lighter shade. (They have a gold bronze one too)

 I love this because it gives your skin a shimmer not so much glitter and it's in a nice pinky tone.  I use it on the bridge of my nose, my cheekbones, brow bone, Cupid's bow and sometimes my chin or forehead.  It's great for summer as an accent to your tan!


 And lastly the Maybelline 24hr colour tattoo gel cream eyeshadow in the shade, bronze on bronze.

I love this shade as it is similar to one in the MUA make up palette that is a definite dupe for Urban Decays Naked pallette.  This cream shadow is shimmery and lasts a long time, I often use it under eyeshadows a primer to make any colour last all day.


I highly recommend both products especially if they are on 3 for 2 in Boots.  A number of beauty bloggers/you tubers put me on to these products especially www.velvetgh0st.co.uk

Thursday, 21 May 2015

My First... Bobbi Brown Product!

Last weekend I went to Swindon Outlet Village and went in The Cosmetics Company.  In there they have brands like Mac, Bobbi Brown, Clinique and Estée Lauder with about 20%.  They are not full ranges as I was looking for Estée Lauder bronze goddess but they didn't have any.

I decided to just get one 'designer' make up item that I fell in love with when I swatched it. (It's more sparkley in real life)

It's the Bobbi Brown Longwear Cream Shadow Stick in the color 24 Karat.


I've already tried it on my eyes and it's a little lighter than I thought in colour but it does stay on all day.

This may be the start of my collection, I look forward to buying more at the duty free airport shops.

Tuesday, 5 May 2015

Fiber Lash Mascara Review

So my friend has stopped selling Younique make up products, not sure why, but in a way it's a good thing for me as I won't be tempted to buy anything else.

But I did promise a review of the fibre lash mascara I bought.


Okay so first you can put a layer of mascara on your lashes if you wish but you have to let them dry. Then you coat your lashes with the transplant gel and then brush on the fibres.  But then you have to set it again with the transplant gel.  You can repeat these steps on the end of your lashes for more impact and volume.


Here's a few pictures of my lashes with the mascara on, excuse the bad skin between the eyebrows and yes the one picture was from a different time as my skin looks more tanned.  But the first two pictures show just normal mascara on the right and the fibre lash on the left.


My verdict is that the fibre las mascara does make a difference but as I have such long lashes anyway it's hard to tell.  I definitely recommend this type of mascara, I'm sure there are other brands, this one is £23, which is bit pricey.

Friday, 27 March 2015

Beauty Alert: e.l.f UK

I keep looking at the e.l.f website just deciding what to order and waiting for things to come back in stock.  

But last weekend I browsed online as usual and noticed there was a big sale but on the front page it states that they are closing down!  As far as I'm aware this is mainly to the UK & Europe, I'm not sure about the US or anywhere else.

Naturally I put in a big order.
 

In the week e.l.f emailed me to say that they are experiencing a high number of orders so my dispatch has been delayed but delivery times will be the same from dispatch.  So don't expect to get your goods 3 days later like I thought.  There isn't a lot left so hurry if you're interested!

Saturday, 21 March 2015

Red Lip Liner Review

So recently a friend on Facebook has started selling make up to get extra cash.  The make up brand is called Younique and I decided to try a few things out.  It's a little bit pricey to me but I thought, why not?

I bought the Moonstruck Precision Pencil Lip Liner in the shade Primal and the Moonstruck 3D Fiber Lashes Transplanting Gel and Natural Fibers but more on that when I've actually used it.


Today I tried the lip liner with a red lip crayon, Rimmel London Colour Rush Balm in the Redder the Better is think (the writing has rubbed off).

At first I was not sure as it doesn't glide on but does give a smooth line.  When I filled in my whole lips with the pencil I loved the intense colour.  My lip crayon blended perfectly on top and completed the look.


Now it's the end of the day and my lips look as though I have just put my Lippy on but I haven't touched up at all!  I have even eaten chocolate cake, tea and drunk a fair few drinks.  It's safe to say this lip liner really has that staying power you need for your big night out or even the whole day.

You can grab one HERE in 5 different shades at £12 each and I think you can get an offer if you buy 3.